I cannot count how many times I’ve connected my battery to a freshly built circuit and…
…nothing.
In the last email I sent last week, my goal was to convince you to try and build the blinking light circuit.
Here are the build instructions:
https://www.build-electronic-circuits.com/build-blinking-light-circuit/
So, did you do it?
If the answer is “yes, and it worked!” – then awesome =)
If the answer is “no” – then please reply to this email and let me know what is keeping you from building it.
If the answer is “yes, but it didn’t work…” – then continue reading:
Debugging the blinking light circuit:
Often, a circuit does not work at first try. Many things can go wrong. But it’s usually a simple mistake that you can fix in about 30 seconds. Once you find the mistake, that is.
So your goal now is to find the problem.
Below I’ve listed a few common mistakes. Go through the list and see if you can find yours:
-Plus and minus from the battery has been switched.
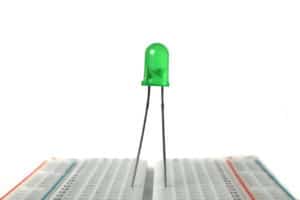
-The LED is connected in reverse
-The LED is dead
-You’ve used the wrong resistor values
-The Integrated Circuit (IC) is placed upside down
-You’ve misread the pin-numbering of the IC
-You couldn’t find 74C14, so you used the 74HC14 instead (it doesn’t support 9V)
-You didn’t connect the components on the board correctly (it’s easy to miss and connect a pin above or below the row where it should be)
-You’ve misplace one of the jumper wire connections
-You have a broken jumper wire that looks okay but does not work (yes, that is a thing)
Inside Ohmify, we make mistakes all the time. Then we ask for help, do some debugging, and we find and fix the error. Want to join us? Learn more here: https://ohmify.com/join/
Keep On Soldering!
Oyvind @ build-electronic-circuits.com
Copyright Build Electronic Circuits
No comments:
Post a Comment