I learned how to use an oscilloscope pretty much on my own. The first time I tried one, I only got some simple instructions, then I was left to myself to figure things out.
But I found that it wasn’t really that hard…
The oscilloscope can be a bit overwhelming with all its functions. But you don’t need to know every detail of it. You can actually come a long way by knowing just a few simple things.
So I want to pass those simple things on to you, so that you can start using an oscilloscope on your own.
Knowing how to use an oscilloscope is very useful when building electronic circuits. When your circuit is not working, it will help you figure out what is going on.
What Does an Oscilloscope Do?
The oscilloscope measures voltage over time. This means that it lets you see the signal in the circuit as it changes with time.
For example if you measure the voltage to a blinking LED with an oscilloscope, you’ll see something like this:
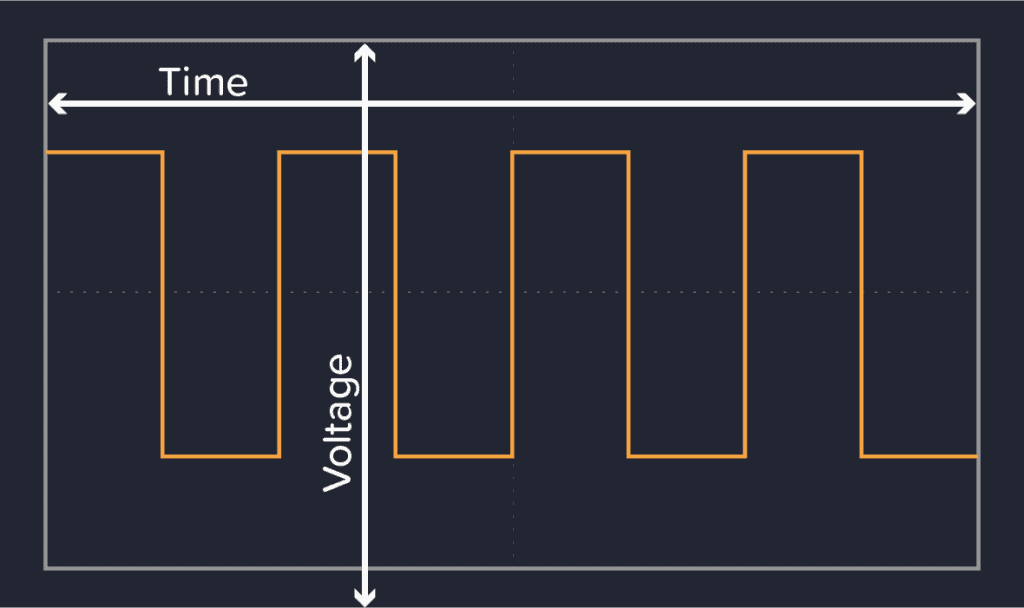
The orange line represents the voltage. When it is on top, the voltage is high and the LED is on. And when it’s at the bottom, the voltage is low and the LED is off.
But when do you need this?
Let’s say you build a music player. But when you plug in the power, it doesn’t work. There is no sound coming…
With an oscilloscope, you can measure different points in your circuit where the sound signal should be and see if it’s actually there or not.
Something you wouldn’t be able to do with a multimeter.
This makes it much easier to debug the circuit:
First, you can measure where the sound signal enters the circuit.
No signal? Aha! Then there is a problem with the sound source.
If there is a signal there, you continue to the next part of the circuit that the sound goes through. No sound there? Well, then that part must be the problem. And so on…
How To Use An Oscilloscope
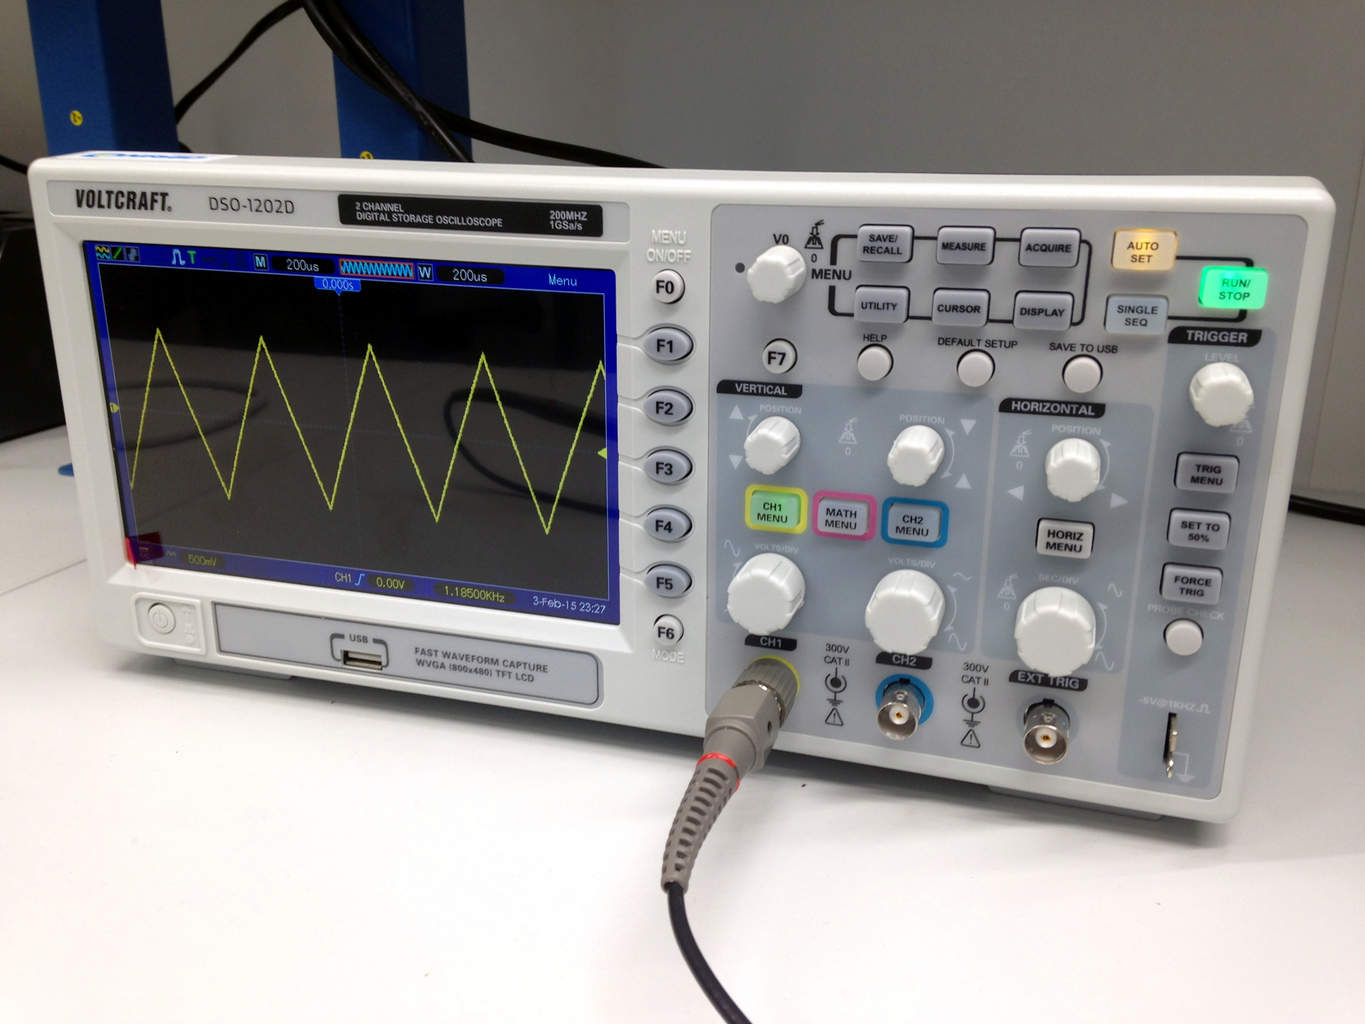
A typical oscilloscope looks like this:
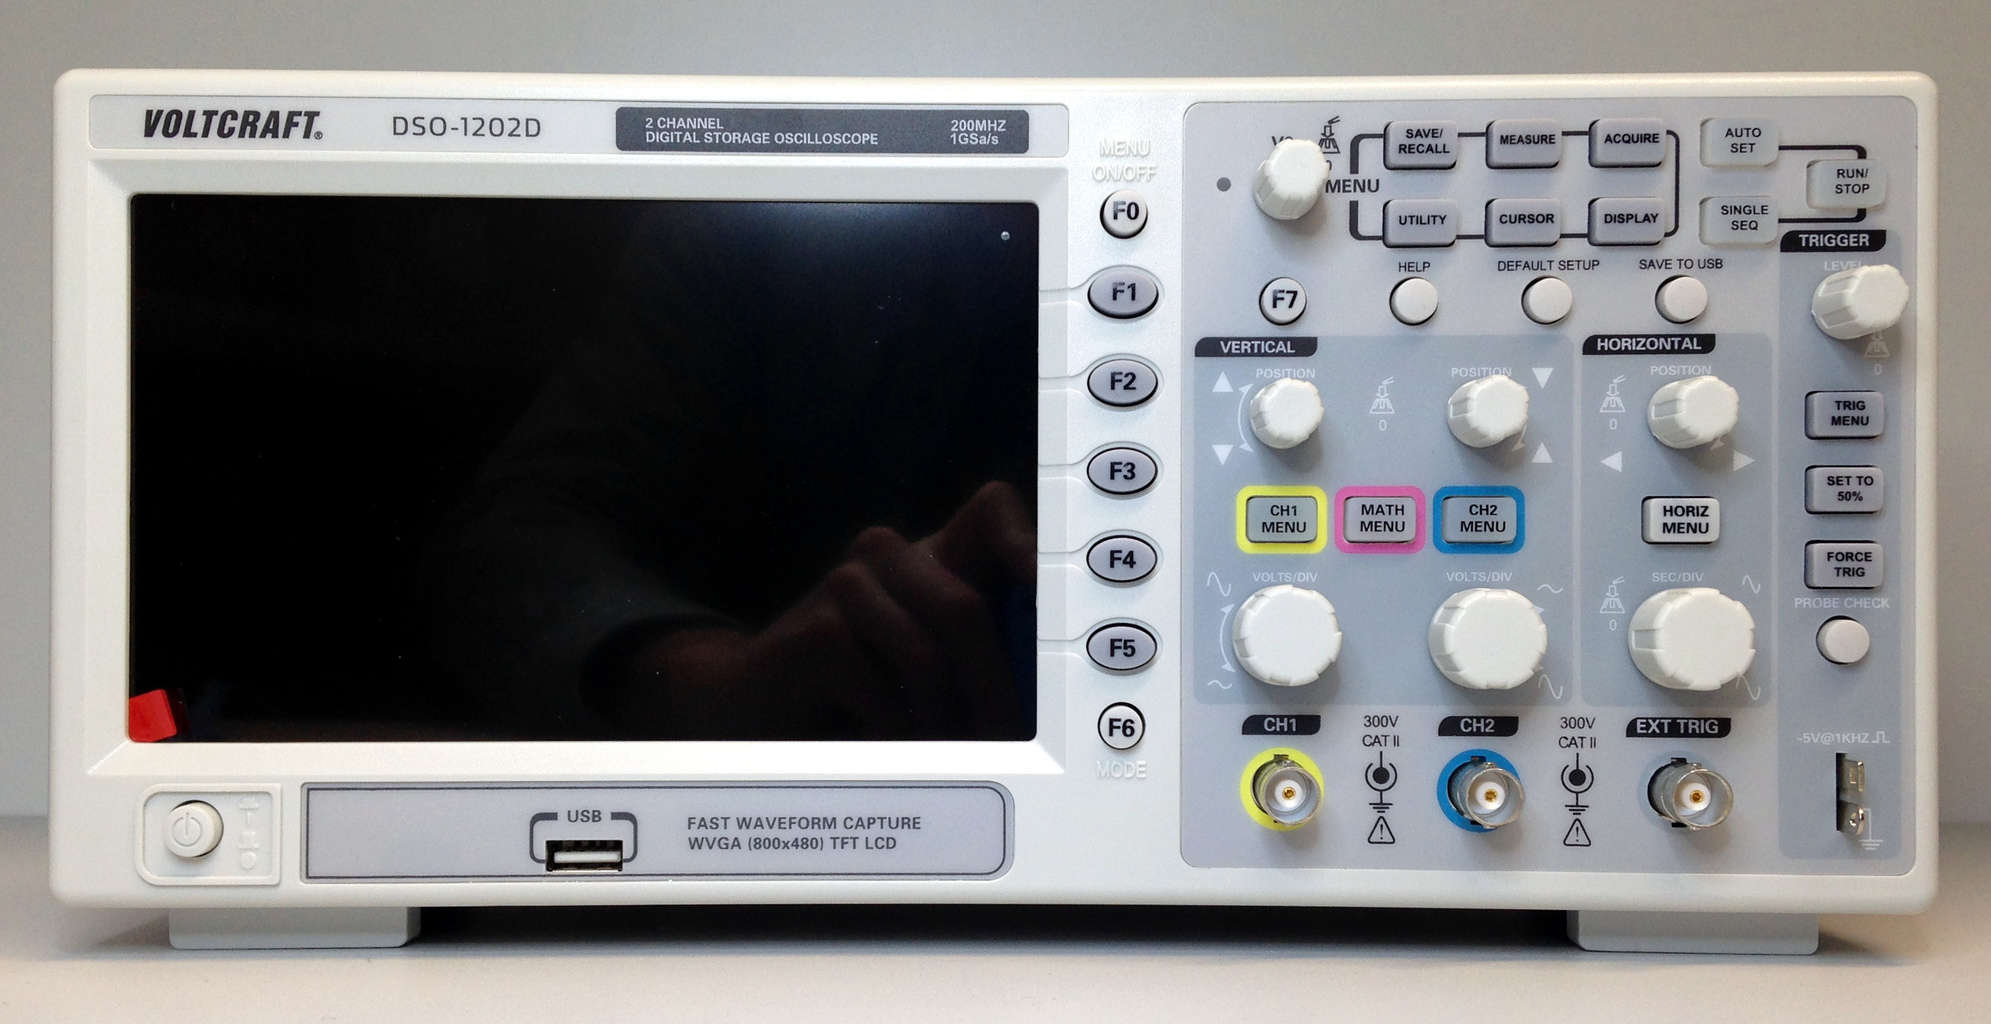
All these buttons are a bit intimidating right? Well, don’t worry, I’ll teach you a shortcut in just a second.
The wires you use to measure with, are named probes.
So the first thing you do, is to attach the probes to what you want to measure. The oscilloscope measures voltage. And since voltage is always measured between two points, you need to connect both the negative and positive side of the probe.
In most situations, you connect the negative probe to ground or minus in your circuit. Then connect the positive side to the thing you want to measure.
When connected, it’s time to set the oscilloscope to the right settings.
But there are sooooo many buttons! So here is a super secret (or not-so-secret) trick on how to use an oscilloscope:
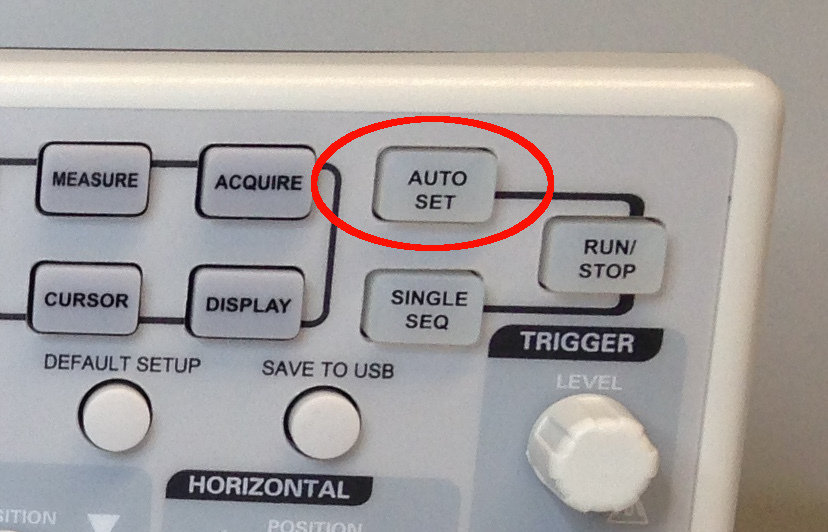
Push the «Auto Set» button.
This button will analyze the signal and try to set the settings of the scope to what is best. It doesn’t always work – but in many situations it does.
Control Your Oscilloscope Manually
What if you want to know how to use an oscilloscope without the «Auto Set» – like old-school analog oscilloscope for example?
Then, there are two main knobs to focus on:
- Vertical Volts/Div
- Horizontal Sec/Div
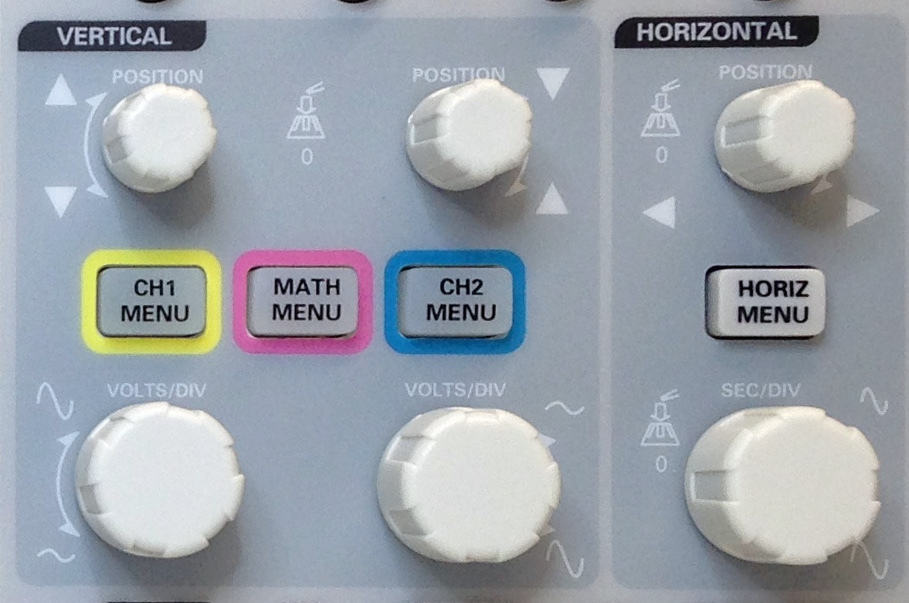
If the signal you are looking at has large voltage swings, you need to adjust the vertical knob marked «Volts/Div» to a large Volts/Div setting. If it has very small voltage swings, you need to set it you a tiny Volts/Div setting.
If your signal is not in the screen, then scroll up or down on the vertical knob marked «Position» to find your signal.
Then use the horizontal Sec/Div knob to set the time per division on the screen. If you have a signal with really high frequency, you need a low Sec/Div setting to see it properly. If you have a very low frequency signal, you need to set it higher.
These settings are basically all you need to get started.
Where To Buy An Oscilloscope
Now that you know how to use an oscilloscope, it’s time to get yourself one. A very good oscilloscope that’s useful for beginners, as well as more advanced circuit builders, is the Rigol DS1054Z.
If you want to save some money, look for USB oscilloscopes. These are scopes that you plug into the USB of your computer and look at the signal in some computer software.
Or you can learn how to build your own super simple Arduino oscilloscope – but keep in mind that it’s simple for a reason (it’s also pretty bad).
Questions?
Do you have any questions about how to use an oscilloscope? Let me know in the comments below!
Copyright Build Electronic Circuits


No comments:
Post a Comment