I was recently asked how to edit a symbol in KiCad. The question was actually how to stretch a component that was in the standard library, so I made a quick walk-through on how to do that.
You can edit the symbol in the symbol editor. Just right-click on the symbol that you want to edit in the schematic and choose Properties, then Edit With Library Editor.
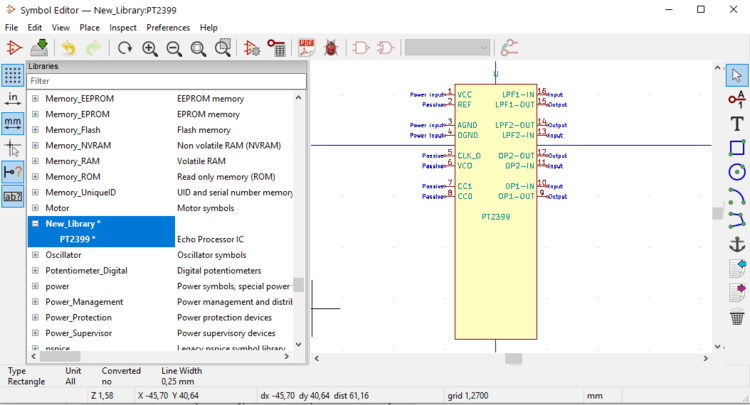
But you’re not allowed to overwrite the standard KiCad libraries, so unless you already have a custom library you need to create a new library to save the new symbol in first:
Click on File -> New Library
Choose where you want to save it. Then choose if this should be a Global library that all projects will have access to or a Local library that only this project will have access to.
Now you need to create a copy of the symbol in your custom library. Just right-click on the symbol and choose to Save a Copy As…:
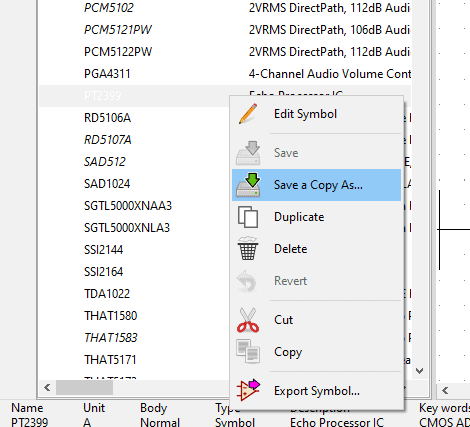
Find the library you created above and save the copy in that library.
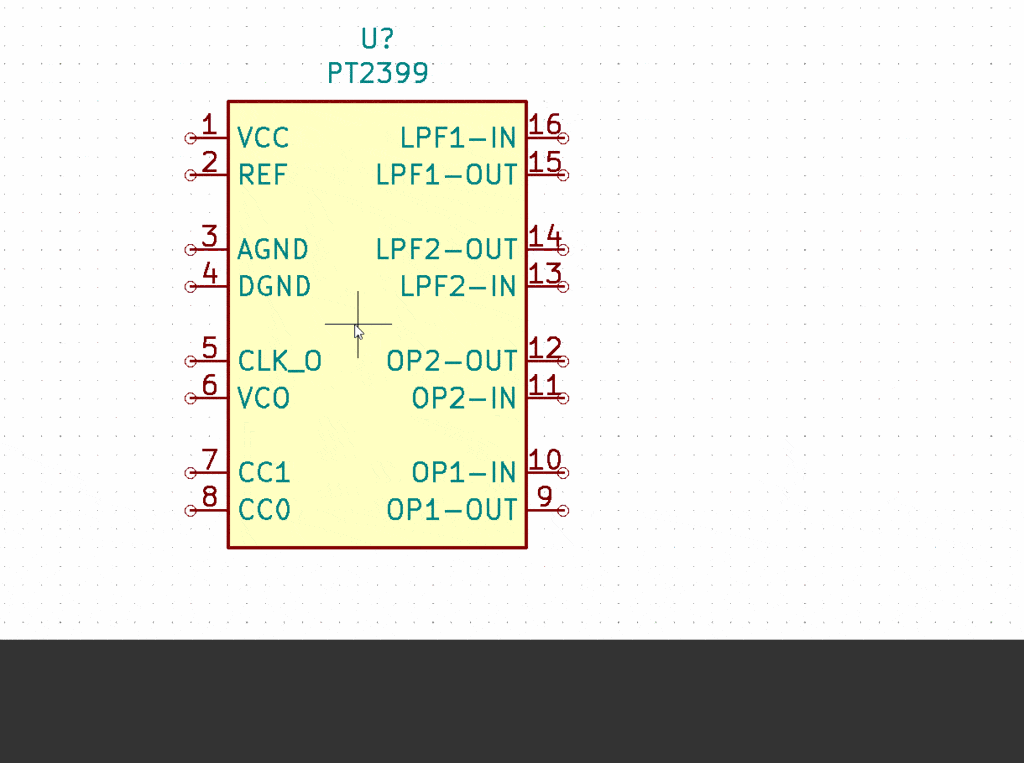
Now you can edit the symbol. Hold your mouse over the lower border of the component and press g on your keyboard. Then you can drag it and make it larger:
Then move the pins apart by holding your mouse over a pin and pressing m on your keyboard.
When you’re finished go to File and select Save. Then close the window.
Now you can go back to your schematic and add the new symbol you just created:

I was a bit short on time, so I didn’t actually move the pins, but you get the picture.
Back to the main KiCad Tutorial
Copyright Build Electronic Circuits


No comments:
Post a Comment