In this Halloween electronics project, I’ll show you how to make a cool Jack-O-Lantern. I used a 3D-printed carved pumpkin, but a real one works just as well (or even better!).

The project is based around three normal LEDs that we control so that they look like a flickering flame. Since my “pumpkin” was very small, I used 3mm LEDs. For bigger pumpkins, I recommend using bigger and brighter LEDs. For example these ultra-bright orange LEDs.
The LEDs are connected in series with a resistor to the PWM pins on the Arduino so that I can control the brightness. And in the code, I change the brightness of each LED to a random value for every 50 milliseconds.
The result? Check out the video below:
Jack-O-Lantern Connection Diagram

Components Needed
- 3 x LED (Orange)
- 3 x Resistor (220 Ω)
- Arduino Uno
- Carved pumpkin (or something else to place the LEDs in)
I 3D-printed this pumpkin model from Thingiverse, but you can place your LEDs in whatever you have at hand. A carved pumpkin? A mummy jar (by wrapping some bandage around a jar and adding eyes)? Or and old /spooky) lantern.
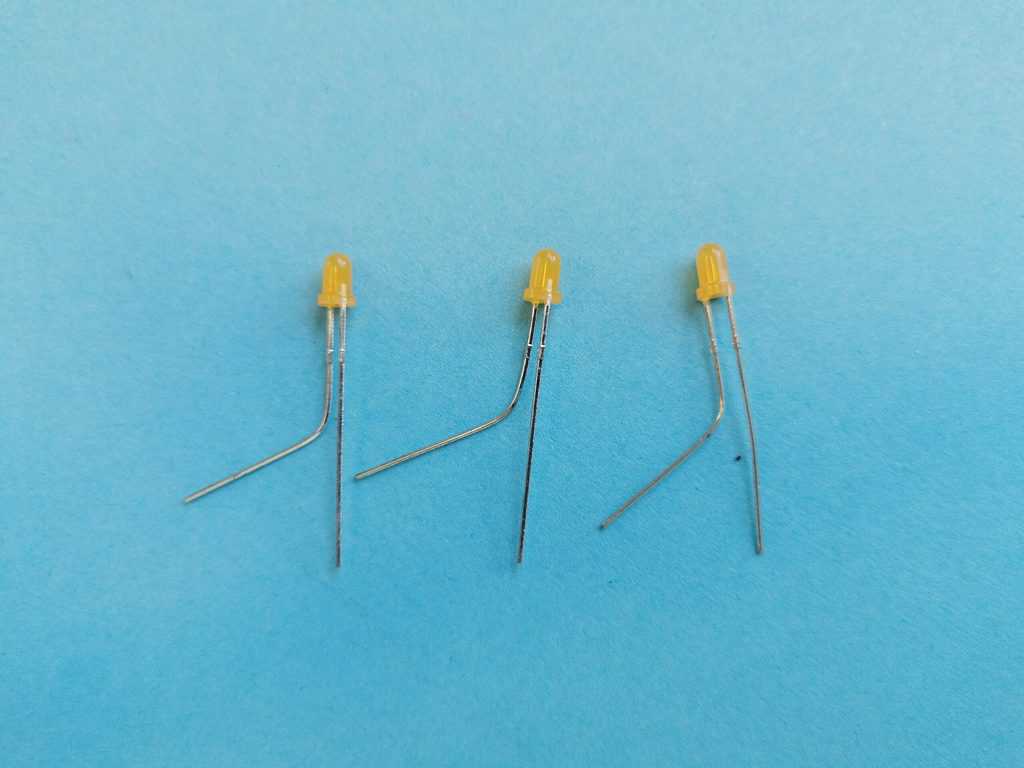
Preparing the LEDs
Start by bending the positive leg (the longest one) of each LED:
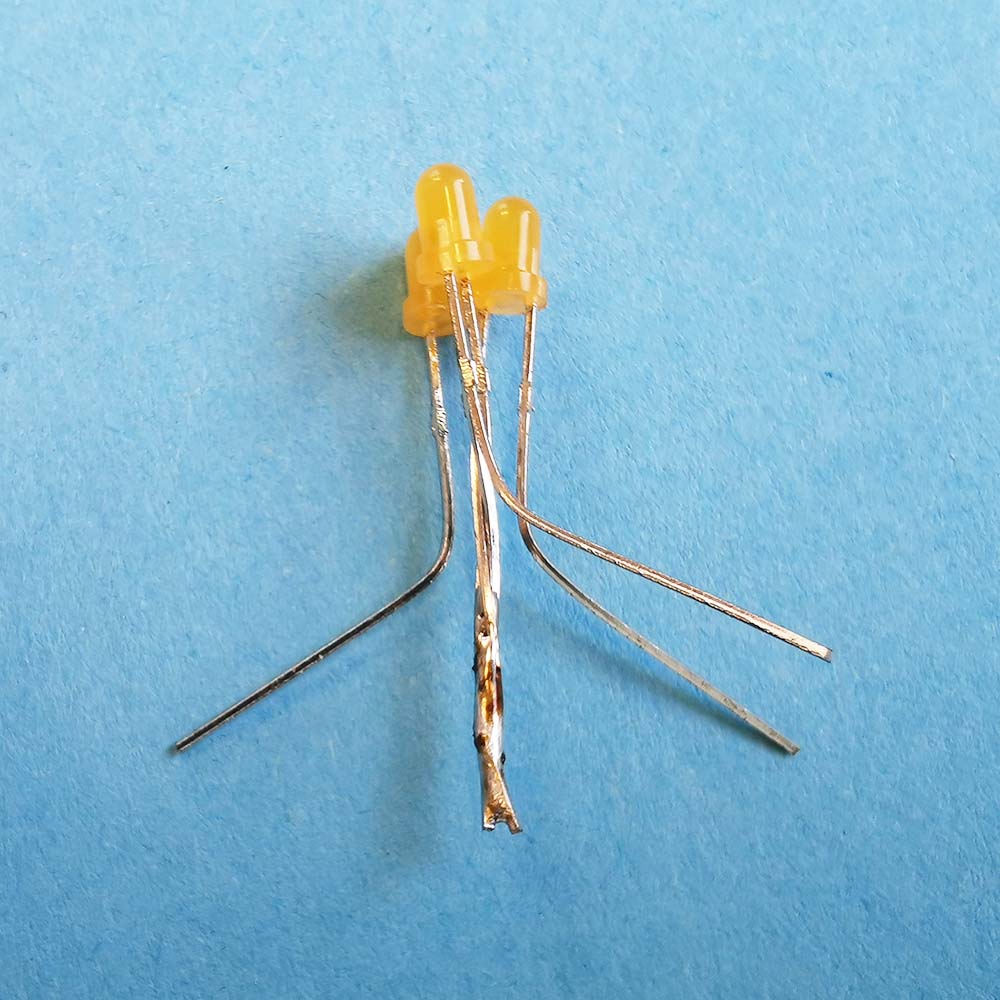
Join the three negative legs and solder them:
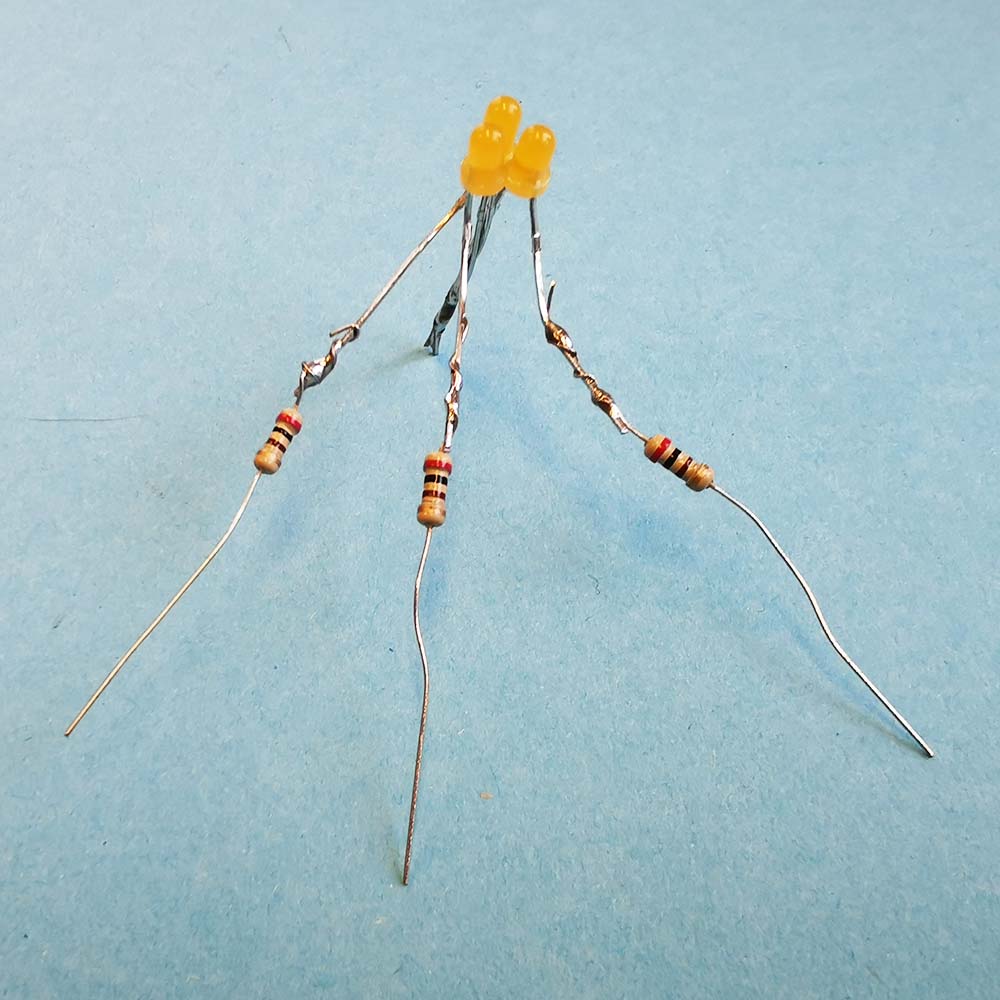
Solder a resistor to each of the positive legs:
Solder wires for connecting to the Arduino, then cover with shrink tube:
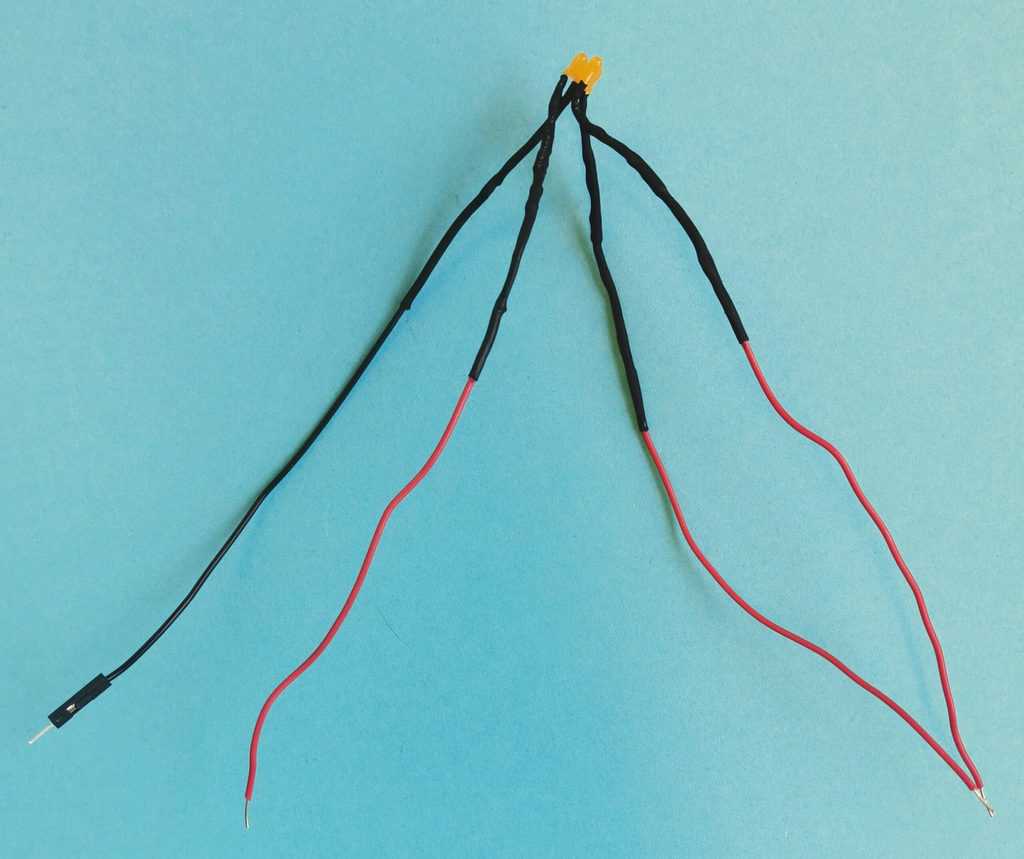
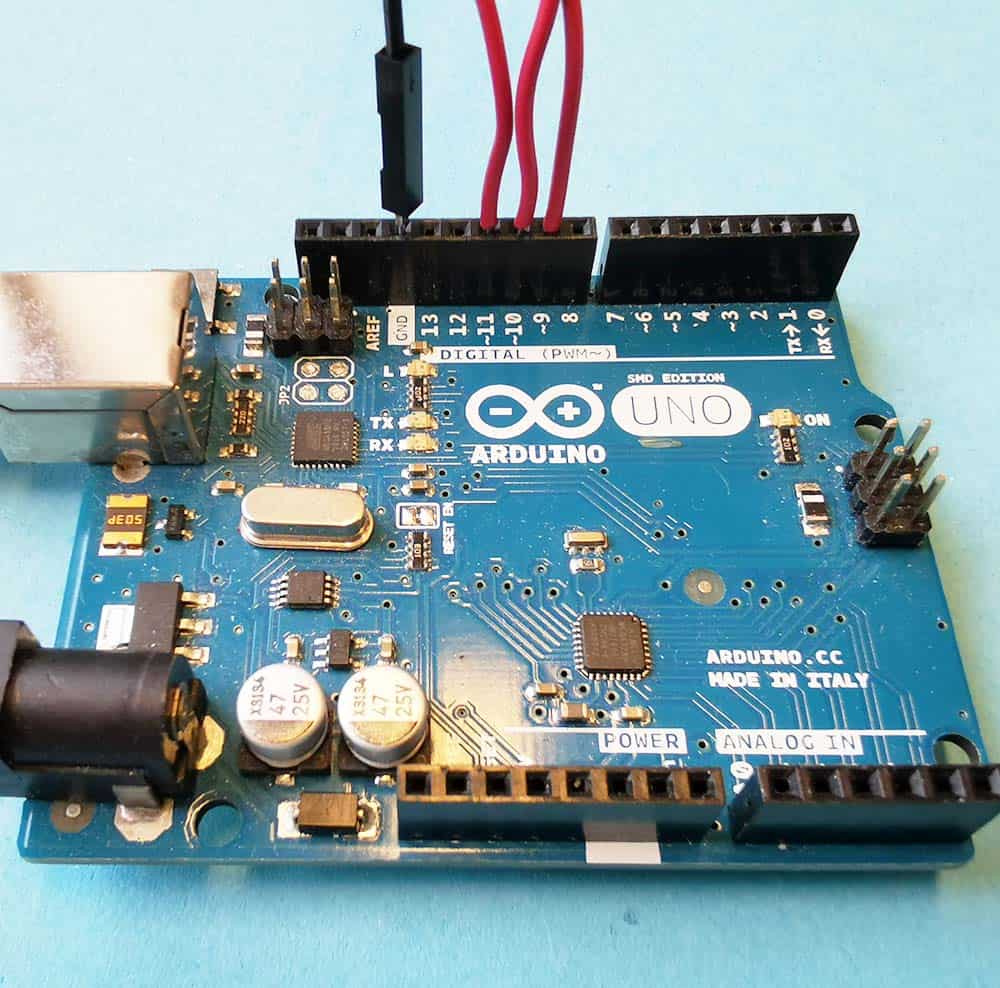
Connect the negative wire to GND on your Arduino and the positive legs to pins 9, 10, and 11 on the Arduino:
Code for Flickering LEDs
The code is pretty straightforward. In the setup() function, I set up the LED pins as outputs. And in the loop() function, I use the analogWrite() function to set a random brightness value to each LED, with a 50-millisecond delay between each change of value.
// Halloween Project: Jack-O-Lantern wit flickering LEDs
// Code by Oyvind Dahl
// www.build-electronic-circuits.com

int ledPin1 = 9;
int ledPin2 = 10;
int ledPin3 = 11;

void setup() {
  // Set LED pins as outputs
  pinMode(ledPin1, OUTPUT);
  pinMode(ledPin2, OUTPUT);
  pinMode(ledPin3, OUTPUT);
}

void loop() {
    analogWrite(ledPin1, random(10, 255));
    delay(50);
    analogWrite(ledPin2, random(10, 255));
    delay(50);
    analogWrite(ledPin3, random(10, 255));
    delay(50);
}
Questions about this Jack-O-Lantern project?
Let me know your questions about this Jack-O-Lantern project in the comment section below!
Copyright Build Electronic Circuits


No comments:
Post a Comment