Thursday, 28 October 2021
Stacking the deck: Layers of crystalline nanosheets enable tunable electronic properties

Wednesday, 27 October 2021
Carbon nanotubes could help electronics withstand outer space’s harsh conditions
A new 3D printing frontier: Self-powered wearable devices
Monday, 25 October 2021
Electrical control over designer quantum materials
Saturday, 23 October 2021
Stretchy, bendy, flexible LEDs
Thursday, 21 October 2021
New material could pave the way for better, safer batteries
Monday, 18 October 2021
Halloween Electronics Project: Jack-O-Lantern
In this Halloween electronics project, I’ll show you how to make a cool Jack-O-Lantern. I used a 3D-printed carved pumpkin, but a real one works just as well (or even better!).

The project is based around three normal LEDs that we control so that they look like a flickering flame. Since my “pumpkin” was very small, I used 3mm LEDs. For bigger pumpkins, I recommend using bigger and brighter LEDs. For example these ultra-bright orange LEDs.
The LEDs are connected in series with a resistor to the PWM pins on the Arduino so that I can control the brightness. And in the code, I change the brightness of each LED to a random value for every 50 milliseconds.
The result? Check out the video below:
Jack-O-Lantern Connection Diagram

Components Needed
- 3 x LED (Orange)
- 3 x Resistor (220 Ω)
- Arduino Uno
- Carved pumpkin (or something else to place the LEDs in)
I 3D-printed this pumpkin model from Thingiverse, but you can place your LEDs in whatever you have at hand. A carved pumpkin? A mummy jar (by wrapping some bandage around a jar and adding eyes)? Or and old /spooky) lantern.
Preparing the LEDs
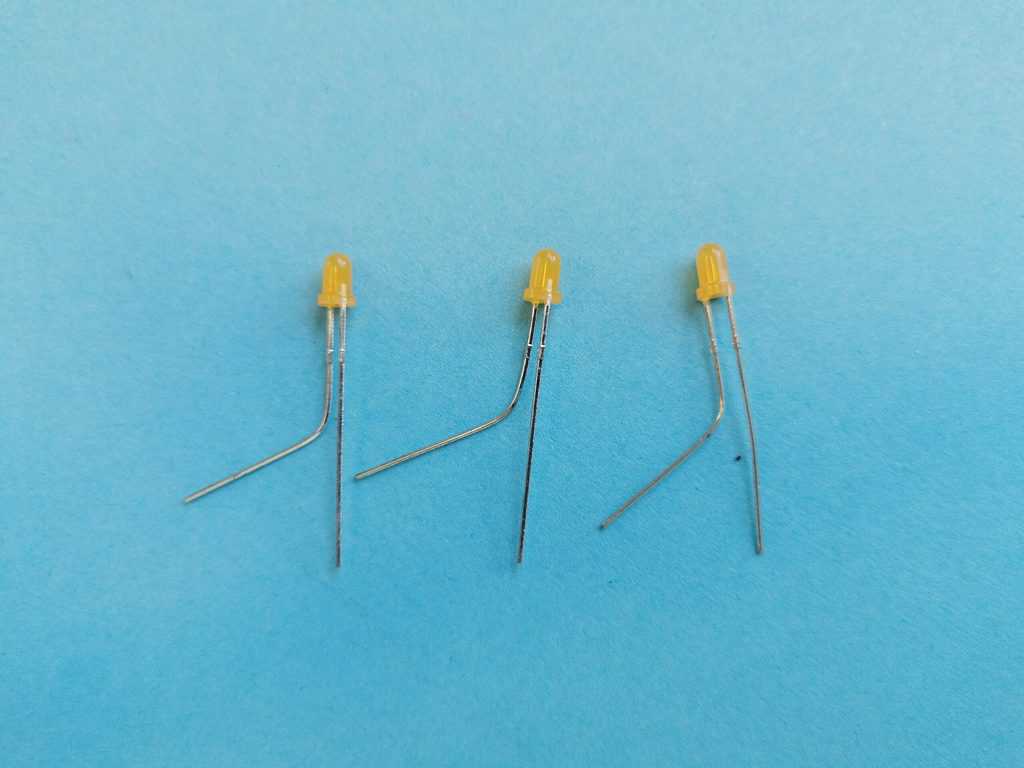
Start by bending the positive leg (the longest one) of each LED:
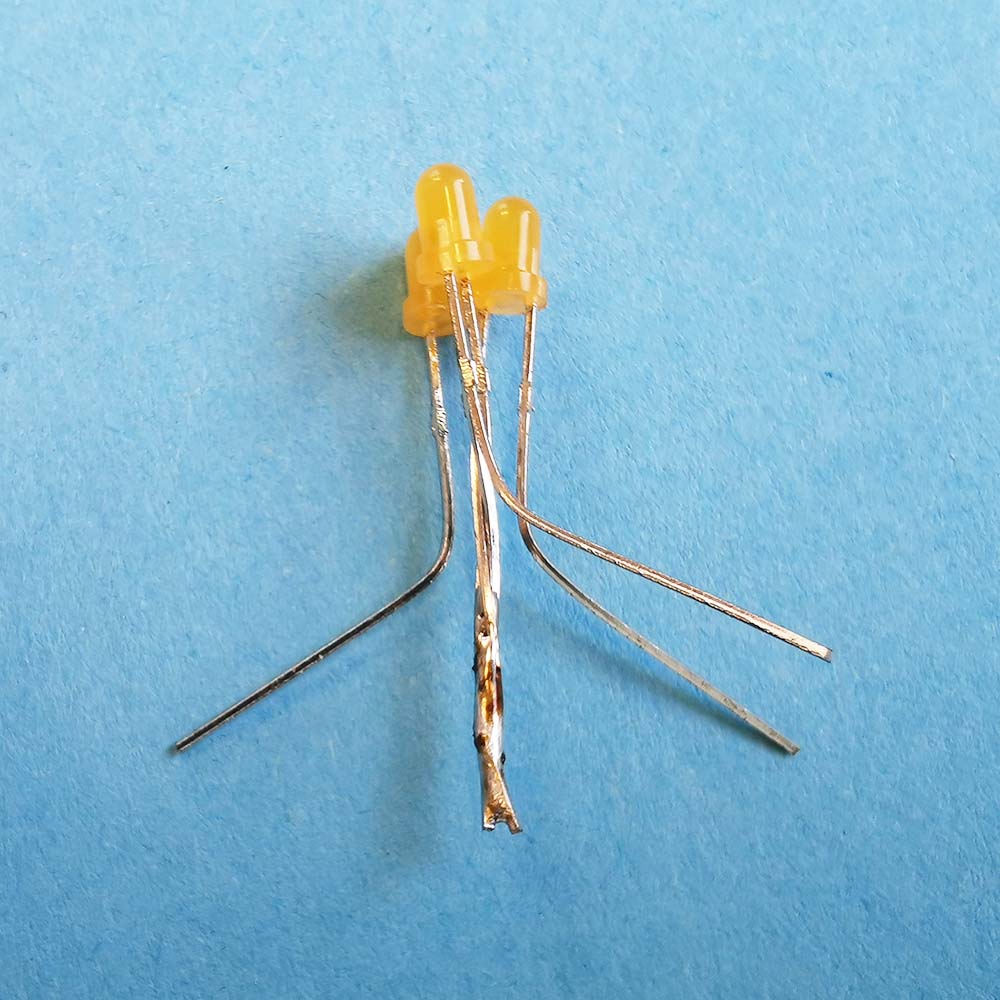
Join the three negative legs and solder them:
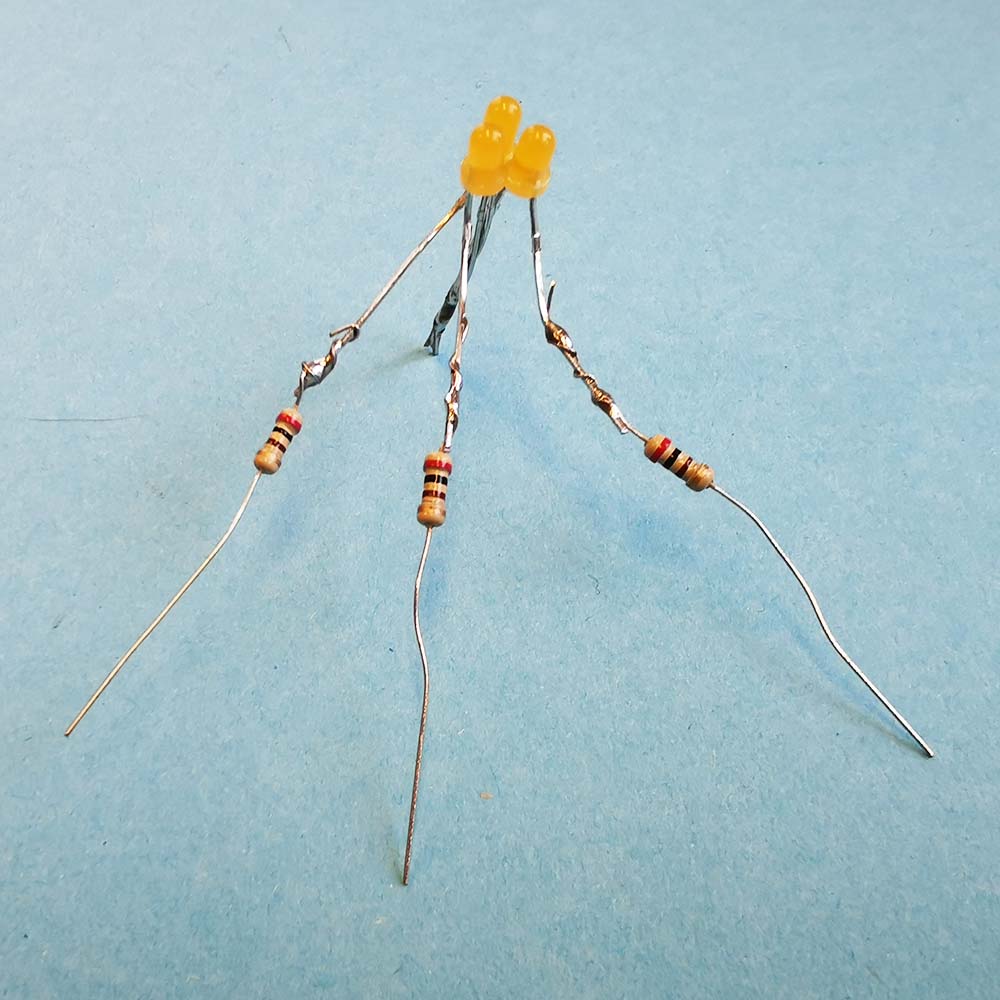
Solder a resistor to each of the positive legs:
Solder wires for connecting to the Arduino, then cover with shrink tube:
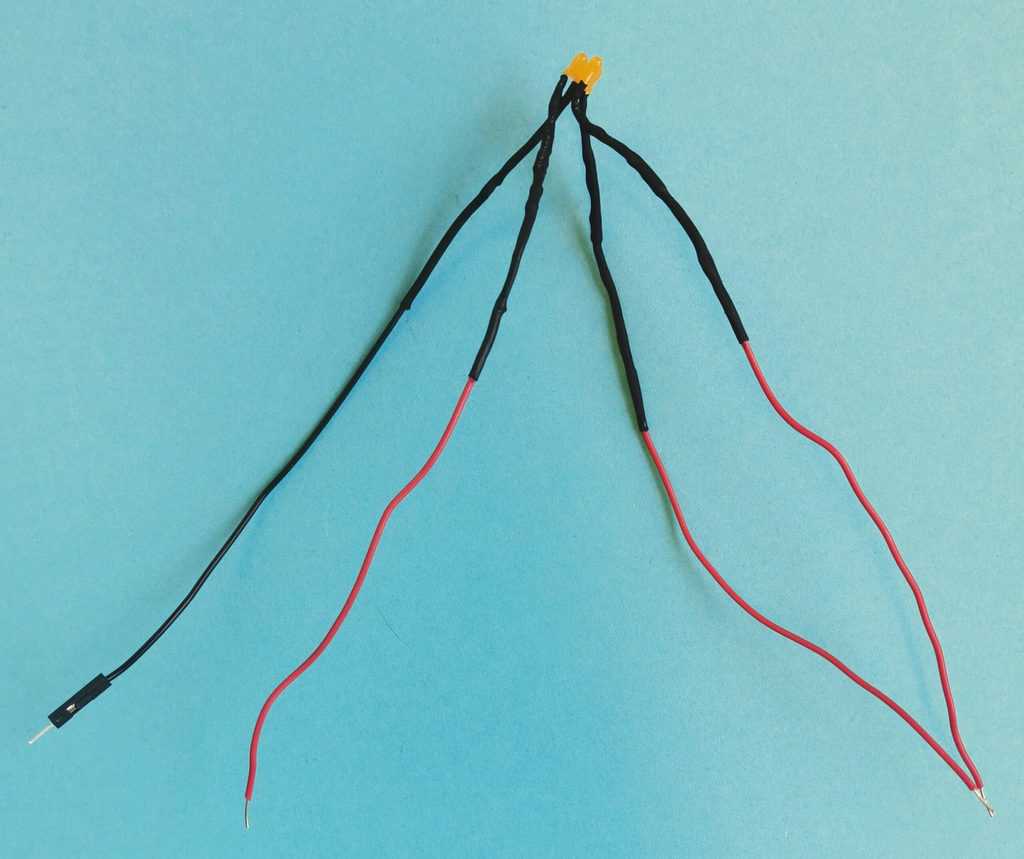
Connect the negative wire to GND on your Arduino and the positive legs to pins 9, 10, and 11 on the Arduino:

Code for Flickering LEDs
The code is pretty straightforward. In the setup() function, I set up the LED pins as outputs. And in the loop() function, I use the analogWrite() function to set a random brightness value to each LED, with a 50-millisecond delay between each change of value.
// Halloween Project: Jack-O-Lantern wit flickering LEDs
// Code by Oyvind Dahl
// www.build-electronic-circuits.com

int ledPin1 = 9;
int ledPin2 = 10;
int ledPin3 = 11;

void setup() {
  // Set LED pins as outputs
  pinMode(ledPin1, OUTPUT);
  pinMode(ledPin2, OUTPUT);
  pinMode(ledPin3, OUTPUT);
}

void loop() {
    analogWrite(ledPin1, random(10, 255));
    delay(50);
    analogWrite(ledPin2, random(10, 255));
    delay(50);
    analogWrite(ledPin3, random(10, 255));
    delay(50);
}
Questions about this Jack-O-Lantern project?
Let me know your questions about this Jack-O-Lantern project in the comment section below!
Copyright Build Electronic Circuits
-
Bluetooth Controlled Electronic Home Appliances is a simple project, where we can control different electrical appliances and electronic de...
-
CMOS (Complementary Metal Oxide Semiconductor) The main advantage of CMOS over NMOS and BIPOLAR technology is the much smaller power dis...
-
In this project, we will learn about TP4056 Lithium Ion Battery Charger which is based on the TP4056 Li-Ion Battery Charger IC. In the proce...


