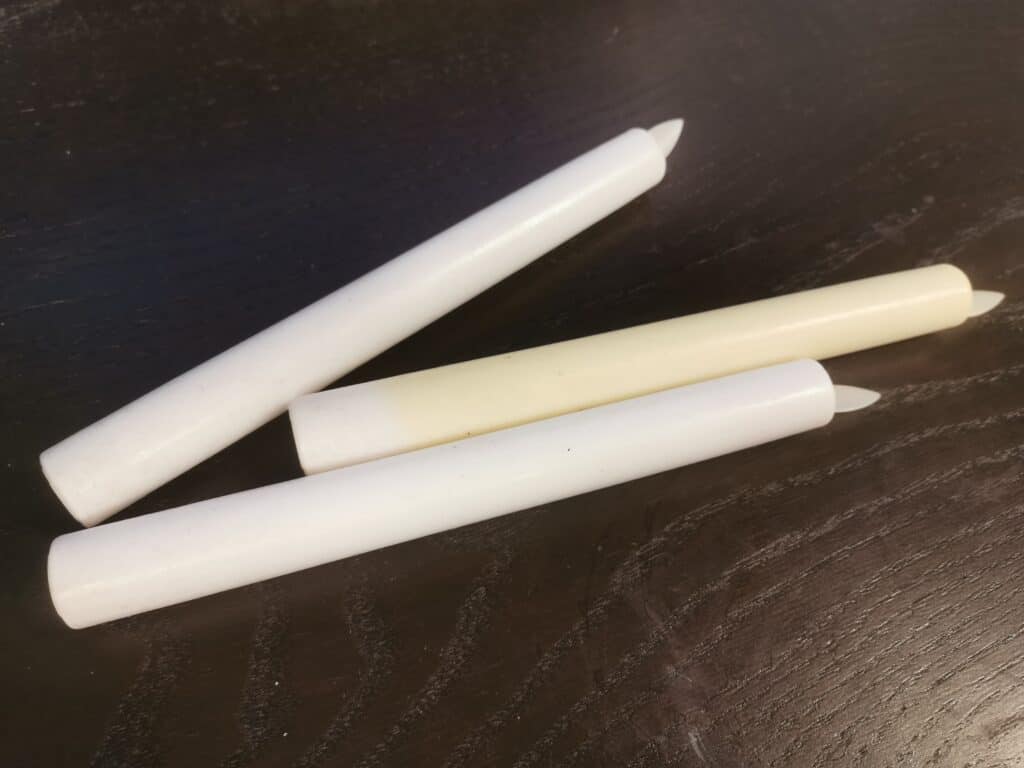
When visiting my parents for Christmas, my dad showed me three electronic candles that did not work anymore. He told me he had changed batteries and showed me that they did not show any signs of life.
I tried to get them to work as well, but no luck.
It sounded like a really fun device to repair, so I took them back to my lab in Oslo to try to see if I could figure out what the problem was.
When repairing electronics, you always have to start with what the problem is. Here, the problem was that nothing happened when connecting the batteries and pressing the ON switch.
When thinking about this problem I came up with two theories:
- A dead LED inside the candle
- Bad connections between batteries and the candle circuit
Checking the Contacts
I started by looking at the connections. Could the connectors have broken somehow?
To see the connectors, I had to remove the outer cover. I first did a visual inspection of the contacts. Then I used my multimeter to check for continuity between the battery touchpoints and the visible metal of the contact.
No problems found.

Opening the Candle
Next, I opened up the candle to be able to check the circuit board inside.
On the circuit board, there was a label showing that it needed 3V DC from the battery connections. So I decided to start by connecting 3V from a power supply directly to the circuit board. This way I would be able to narrow down the problem to be either on the circuit board or on the contacts before the circuit board.

I connected a 3V power supply directly to the board. And it worked!
That meant that the problem had to be somewhere before the circuit board. It had to be the contacts or the batteries.
The most obvious would be the batteries, so even though my dad told me he had used fresh batteries, I had to check. He had provided me with six AA batteries. I measured them with my multimeter and got around 1.5V on four of them, but only 0.5V on the remaining two.
An AA battery with only 0.5V can be considered to be dead. So I discarded the two 0.5V batteries and tried again with two of the good batteries.
But still nothing…
The Invisible User Error
I went back to looking at the connections.
And I did another round of testing using the continuity-tester function of my multimeter. They all looked good!
But then I noticed that the bottom part of the candle, the one I had to remove to replace the batteries, had two seemingly identical sides.

I had assumed they were identical, but at closer inspection, I saw that one side had an almost invisible connector. While the other side had no connector.
And when trying to attach the bottom part to the candle, I found that it was possible to attach it in two different ways. Only one of the ways would make the correct connection.
So once again, I inserted the batteries into the battery holder. Then I attached the bottom part making sure the connector was on the correct side.
And wouldn’t you know it – the candle worked!
I tried all three candles and they all worked when using good batteries AND connecting the bottom part the right way.
So although I didn’t actually repair anything, I found the problem. I can return the candles to my dad, and he will know how to have them working. And often the most important (and also exciting) part of repairing electronics is identifying the problem.
Copyright Build Electronic Circuits


No comments:
Post a Comment