
Everyone can learn how to solder. And it’s an important skill to know want to build electronics.
Basic soldering is easy. All you need is a soldering iron and some solder. When my dad taught me as a teenager, I remember picking it up quite fast.
Also, check out my article on the soldering tools you need to get started.
In this soldering guide, you’ll learn first learn to solder two wires. Then you’ll learn to solder components on a circuit board. If you’re already familiar with this, consider jumping over to my guide on SMD soldering or reflow soldering.
Preparing Your Workbench
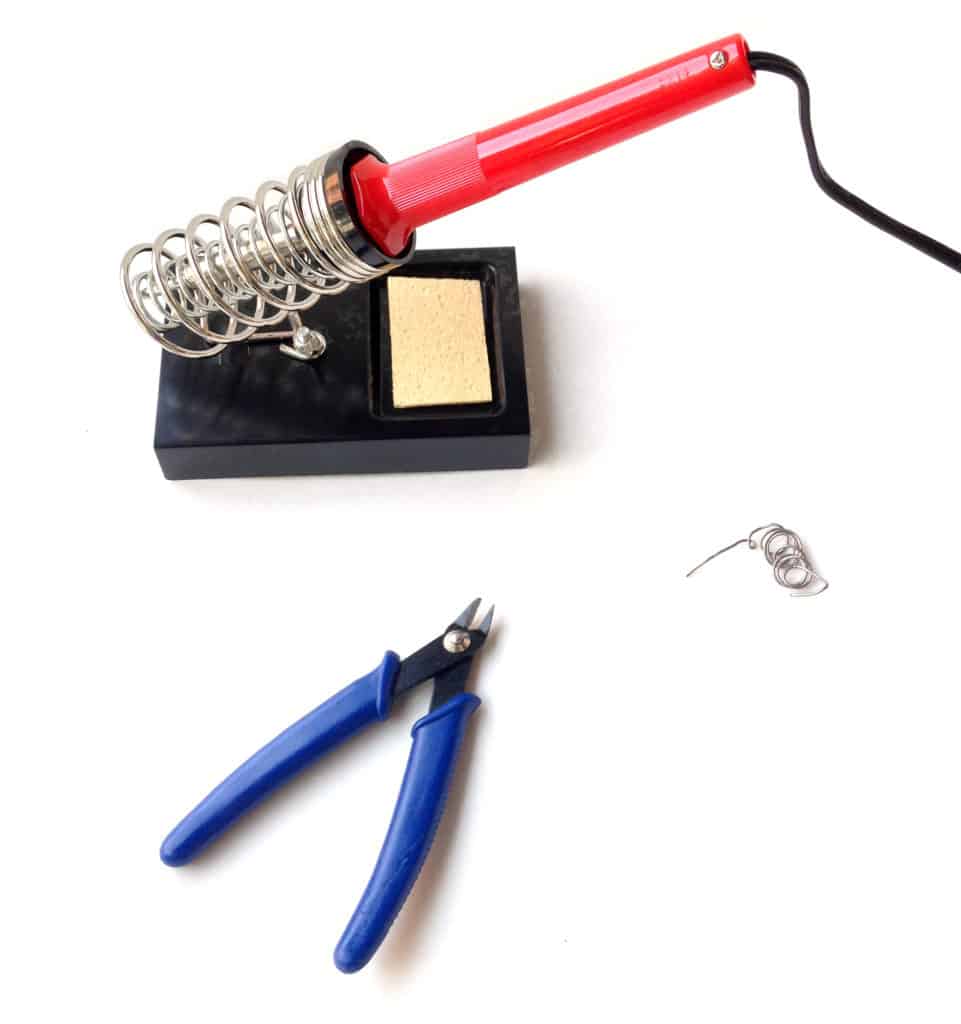
Prepare your workspace. Find your soldering iron and your solder wire and start heating the iron. A pair of wire cutters usually comes in handy too.
Place your soldering iron in a holder. If you don’t have a holder, at least make sure the tip is not touching anything while you heat it.
If you have a temperature-controlled soldering iron, check out my guide to choosing the right soldering temperature.
Clean the Tip
When the iron is hot, the first thing you should do is to clean the tip to remove old solder from it. You can use a wet sponge, a copper scouring pad, or something similar.
Tin the Tip
Before you start soldering, you should tin the tip of the soldering iron. Which just means to melt some new solder onto the tip. This makes the tip transfer heat faster and thereby making the soldering easier and faster.
If you end up with big droplets of tin on your tip, just clean it again as shown above.
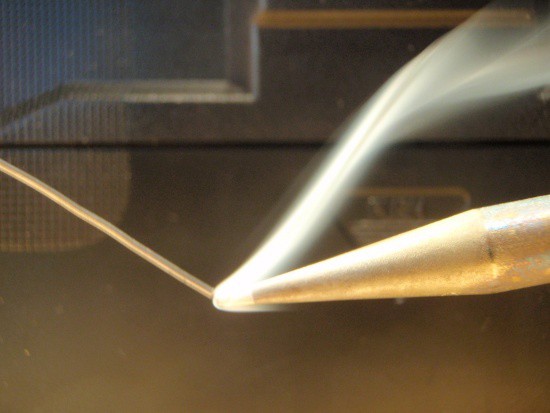
TIPS: If you tin the tip before you put down the soldering iron for the day, it is said that the tip should last longer.
Soldering Two Wires
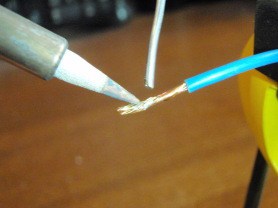
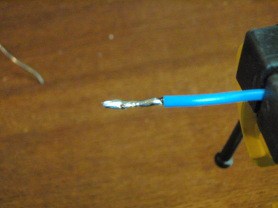
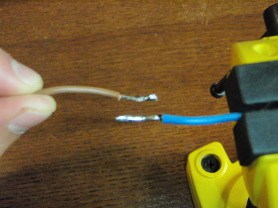
If you want to join two wires with solder, the first thing you should do is to tin the two wires. Note that the wire will get hot, so you should consider holding it with some tweezers or similar.
Place the tip of the iron on the wire and let it heat for a few seconds. Then add some solder until the wire is soaked with solder.
If it is a thick wire, you should turn up the heat on your iron (if possible) to make the wire heat up faster. Repeat the tinning process on the other wire.
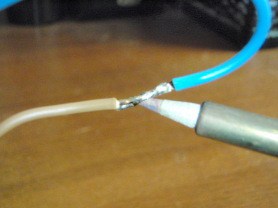
Now place the two tinned wires together and hold still while heating them with the soldering iron so that the tin on both of the wires melt together.
How to Solder a Circuit Board
Next, let’s see how to solder through-hole components to a circuit board.
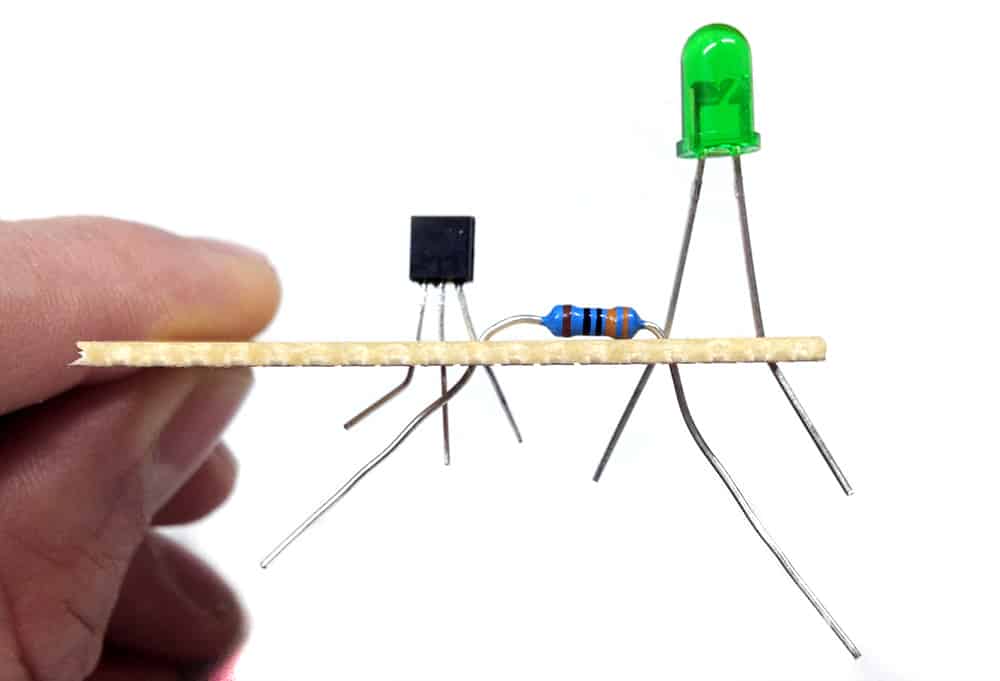
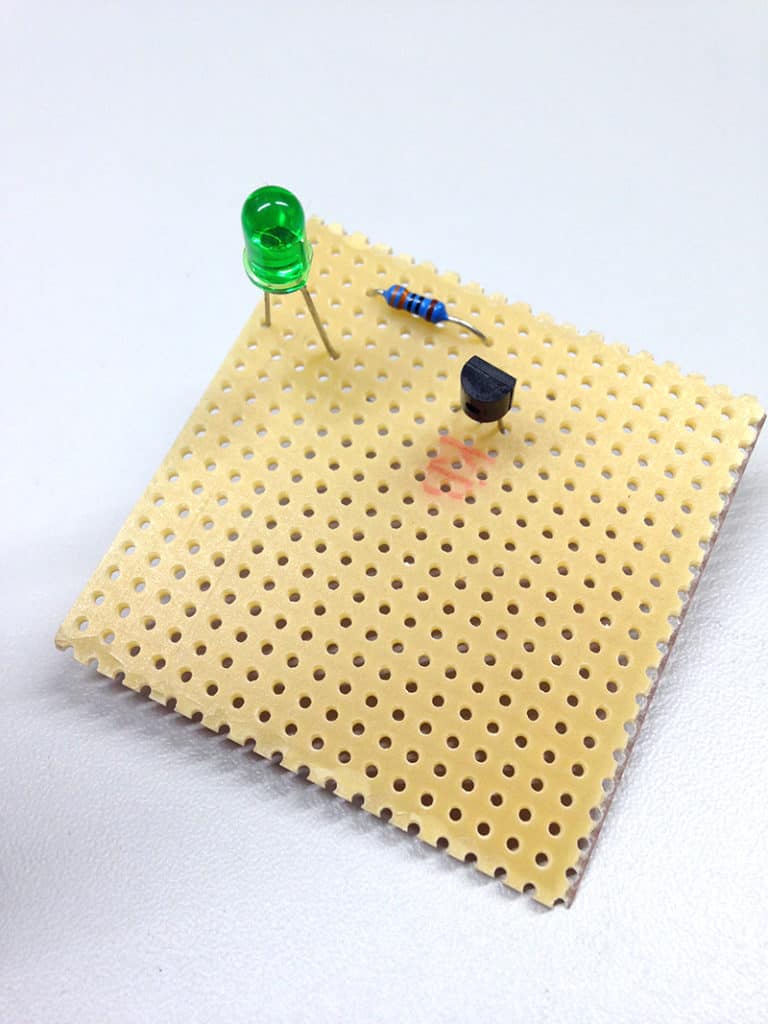
Start by placing the component into its holes. Place it so that its legs come out on the same side as the solder pads.
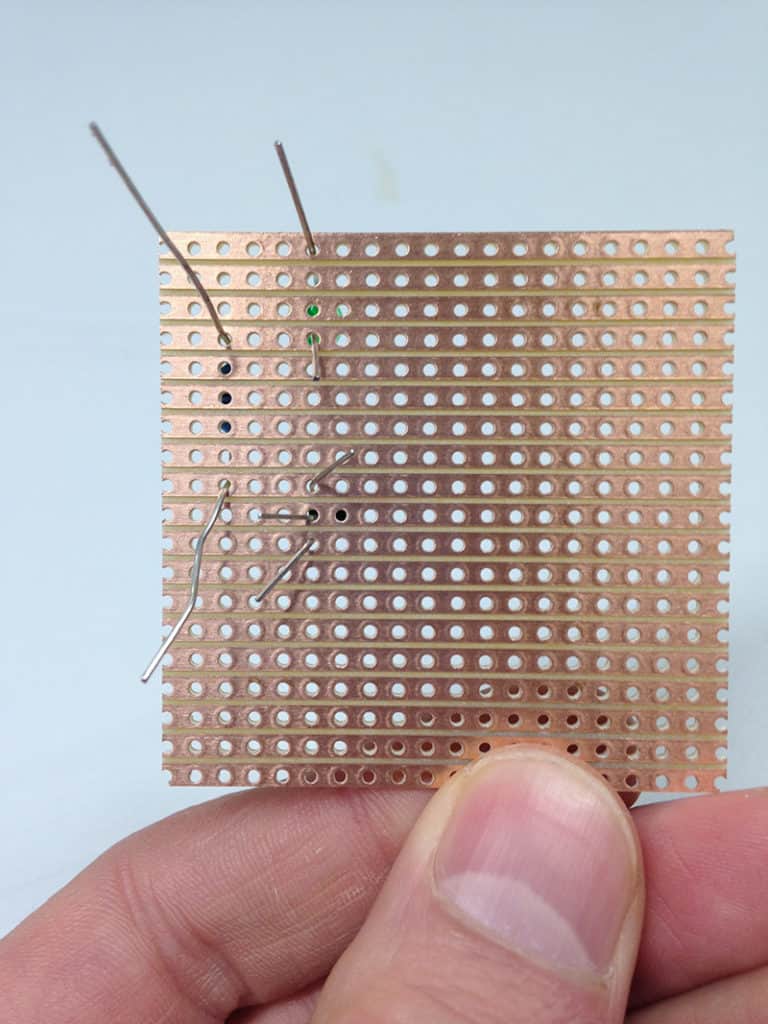
On the solder side of the board, bend the legs of the component a bit. This way it won’t fall out when you flip the board upside down.
Feel free to add several components at once.
Now you’re ready to start soldering.
Put the tip of the iron on the pad so that it heats both the leg of the component and the pad of the circuit board.
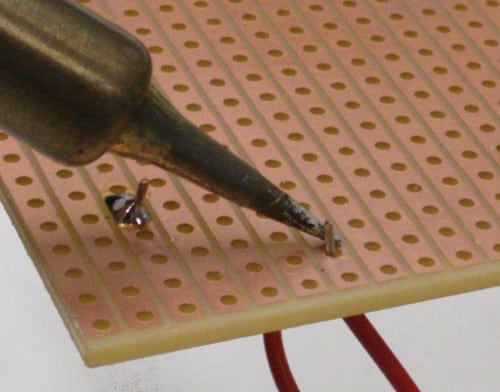
Heat them for a second or so before you apply solder. Keep the iron on the joint while you add solder.
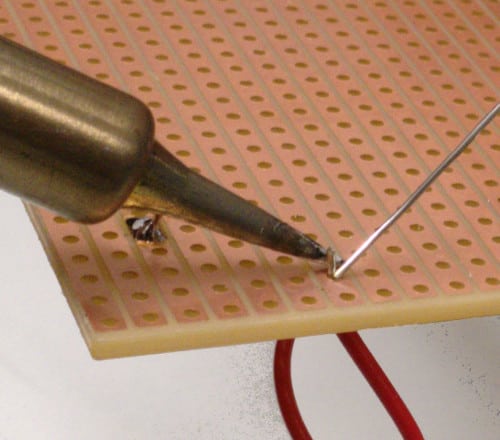
When you have enough solder, remove the solder wire. Then remove the soldering iron tip from the joint.
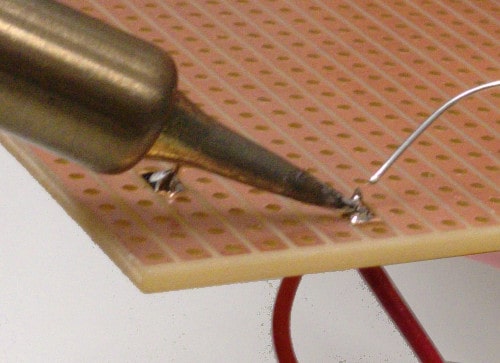
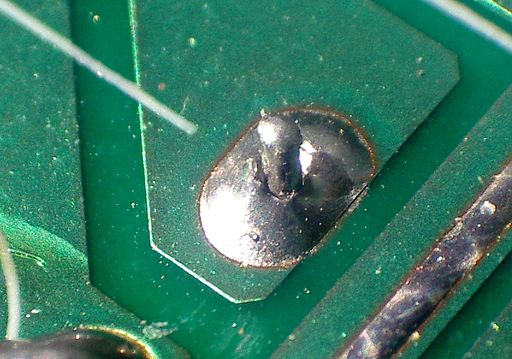
Inspect your solder joint to see if it looks okay. A good solder joint has kind of a cone shape.
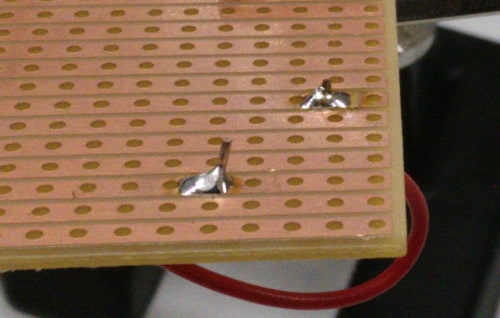
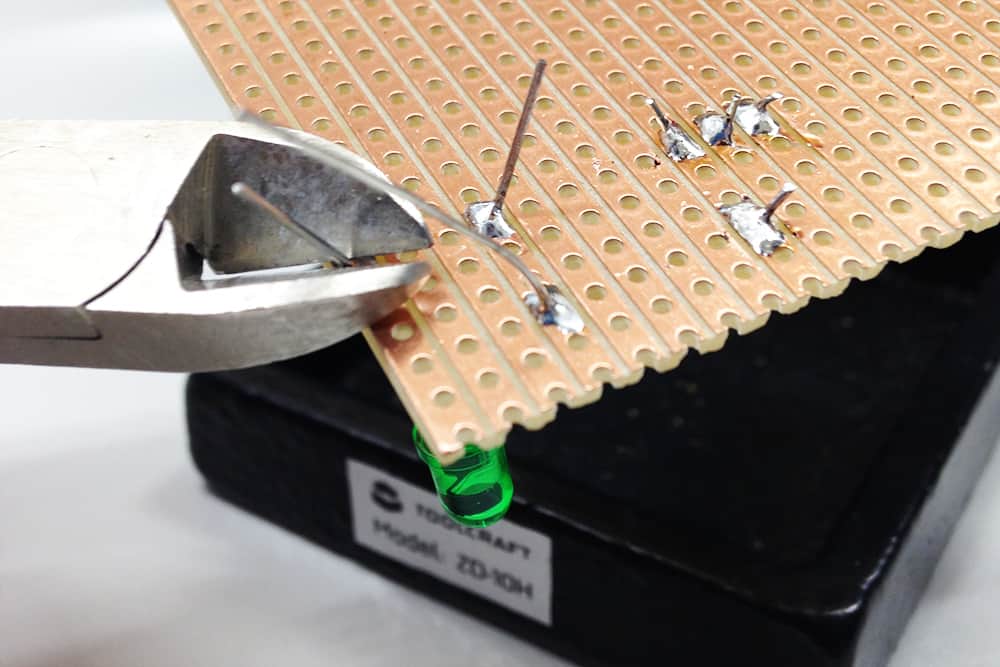
If you are happy with your soldering, cut off the component lead from above the solder joint.
But don’t cut it too short! That will make your life hard if you for some reason have to desolder the component later.
Watch out for Cold Solder Joints!
Always make sure that you apply enough heat! Both to the pad and to the pin. Otherwise, you might end up with a cold solder joint.
A cold solder joint often looks okay at first glance. But when you look more closely, you’ll see that there’s a tiny gap between the solder and the pin. This means that the pin isn’t properly connected to the pad.
This can lead to some serious frustration when your circuit doesn’t work and you are trying to figure out why.
How to Get Good at Soldering
Do you want to learn to solder? The quickest way to get good at soldering is to practice on a lot of circuits. For example, get yourself some soldering kits to practice on.
Or you can find yourself some interesting circuits on your own and solder them onto a stripboard.
Let me know what questions you have around soldering in the comment section below!
Copyright Build Electronic Circuits
No comments:
Post a Comment